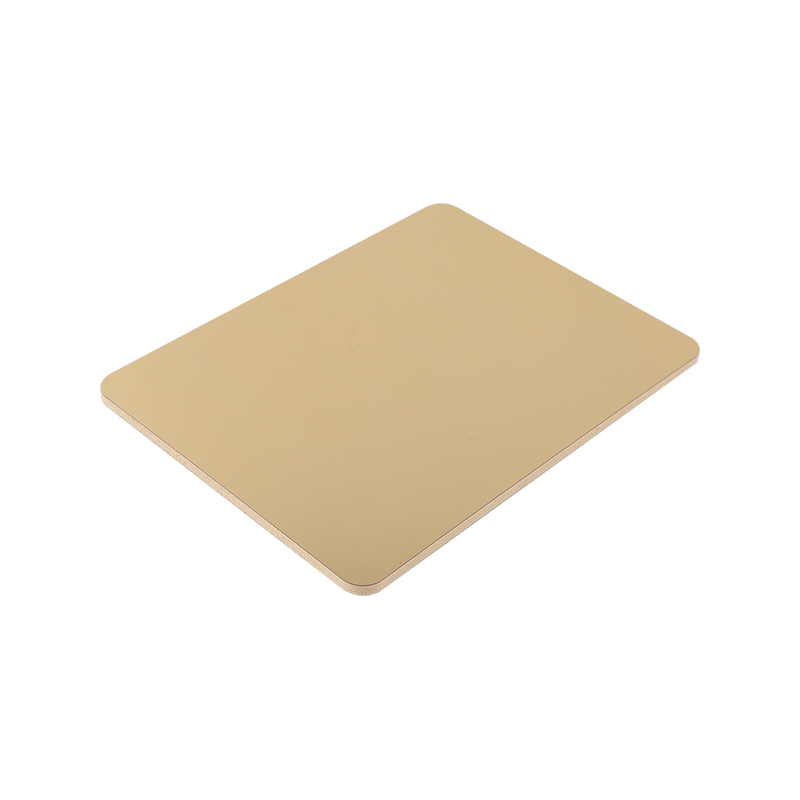
The installation process of home interior decoration material boards needs to be adjusted according to the type and purpose of the boards. During the installation process, it is necessary to carefully check the boards, prepare tools, determine the installation location, and follow certain steps and precautions.
1. Preparation before board installation
Check the boards: Make sure that the type and size of the purchased boards are consistent with the design drawings, and check whether the boards are damaged or defective.
Prepare tools: Prepare screwdrivers, hammers, saws, measuring rulers, electric drills and other tools according to installation needs, and ensure that the tools are complete and intact.
Determine the installation location: Determine the installation location according to the design and use requirements of the furniture, and ensure that the floor or wall is flat.
2. Board installation steps
1. Wall decoration board installation
Finding position and springing line: According to the requirements of the design drawings, first find the elevation, plane position, and vertical dimensions for springing line.
Check embedded parts and openings: Check embedded parts to ensure that the wooden bricks or wooden wedges meet the requirements, the arrangement distance meets the requirements of the keel, and the doors, windows and openings are square and vertical.
Laying and applying moisture-proof layer: Lay moisture-proof wooden wall guards, place wooden pads between the frame and wooden bricks, and nail each wooden brick with at least 2 nails. Then install the keel, reserve the thickness of the board surface, and carry out anti-corrosion and fire-proof treatment.
Lining installation: Nail the lining board with nails, control the nail distance to about 200mm, and reserve a 5mm gap between the splicing boards.
Decorative panel installation: Fix the decorative panel on the keel, pay attention to adjust the joints to ensure flatness and beauty.
2. Floor board installation (taking wooden floor as an example)
Base treatment: Clean the floor to ensure that there is no debris and no sand.
Laying moisture-proof layer: Lay moisture-proof mats on the ground or apply moisture-proof paint.
Laying floor: Lay the floor from the corner, pay attention to the gap between the floors and the splicing method. Generally, special floor nails or glue are used for fixing.
Edge treatment: Use floor edge strips to edge the edges of the floor to ensure beauty and stability.
3. Installation of ceiling panels (taking gypsum board as an example)
Install the keel: install the main keel and the secondary keel according to the design requirements to ensure that the keel is flat and stable.
Laying the gypsum board: fix the gypsum board on the keel, pay attention to the board seam treatment, and generally use caulking putty to fill the board seam.
Surface treatment: polish, repair and decorate the surface of the gypsum board, such as painting latex paint or pasting wallpaper.
4. Precautions
Safety first: During the installation process, always keep in mind the principle of safety first, avoid using too sharp tools, and prevent accidents such as slips.
Follow the instructions: read the instructions carefully before installation, and follow the steps and precautions provided by the manufacturer.
Rational use of tools: use hammers, screwdrivers and other tools reasonably to avoid damage to the board.
Keep clean: During the installation process, pay attention to keeping the work area clean to avoid dust and dirt from affecting the surface of the board.
Proceed in steps: Do not try to complete all the installation work at once, it is best to proceed in steps. Install the main components first, then the secondary components, and finally make detailed adjustments.
Inspection and adjustment: After each part of the installation work is completed, it should be carefully inspected and any inappropriate parts should be adjusted to ensure the overall effect is beautiful and elegant.

5mm/8mm PVC Wood Veneer Wall Panel PVC Foam Mirror Series Interior Decoration


 Español
 中文简体
中文简体 عربى
عربى


 Tel:
Tel:
 E-mail:

